Softsolution
scanners

Softsolutions
Softsolution is number one, worldwide, in the development and production of automated quality assurance systems for the glass industry. For more than 20 years we have been offering high-performance technologies that benefit our customers with our stability, operational safety and performance.
Linescanner
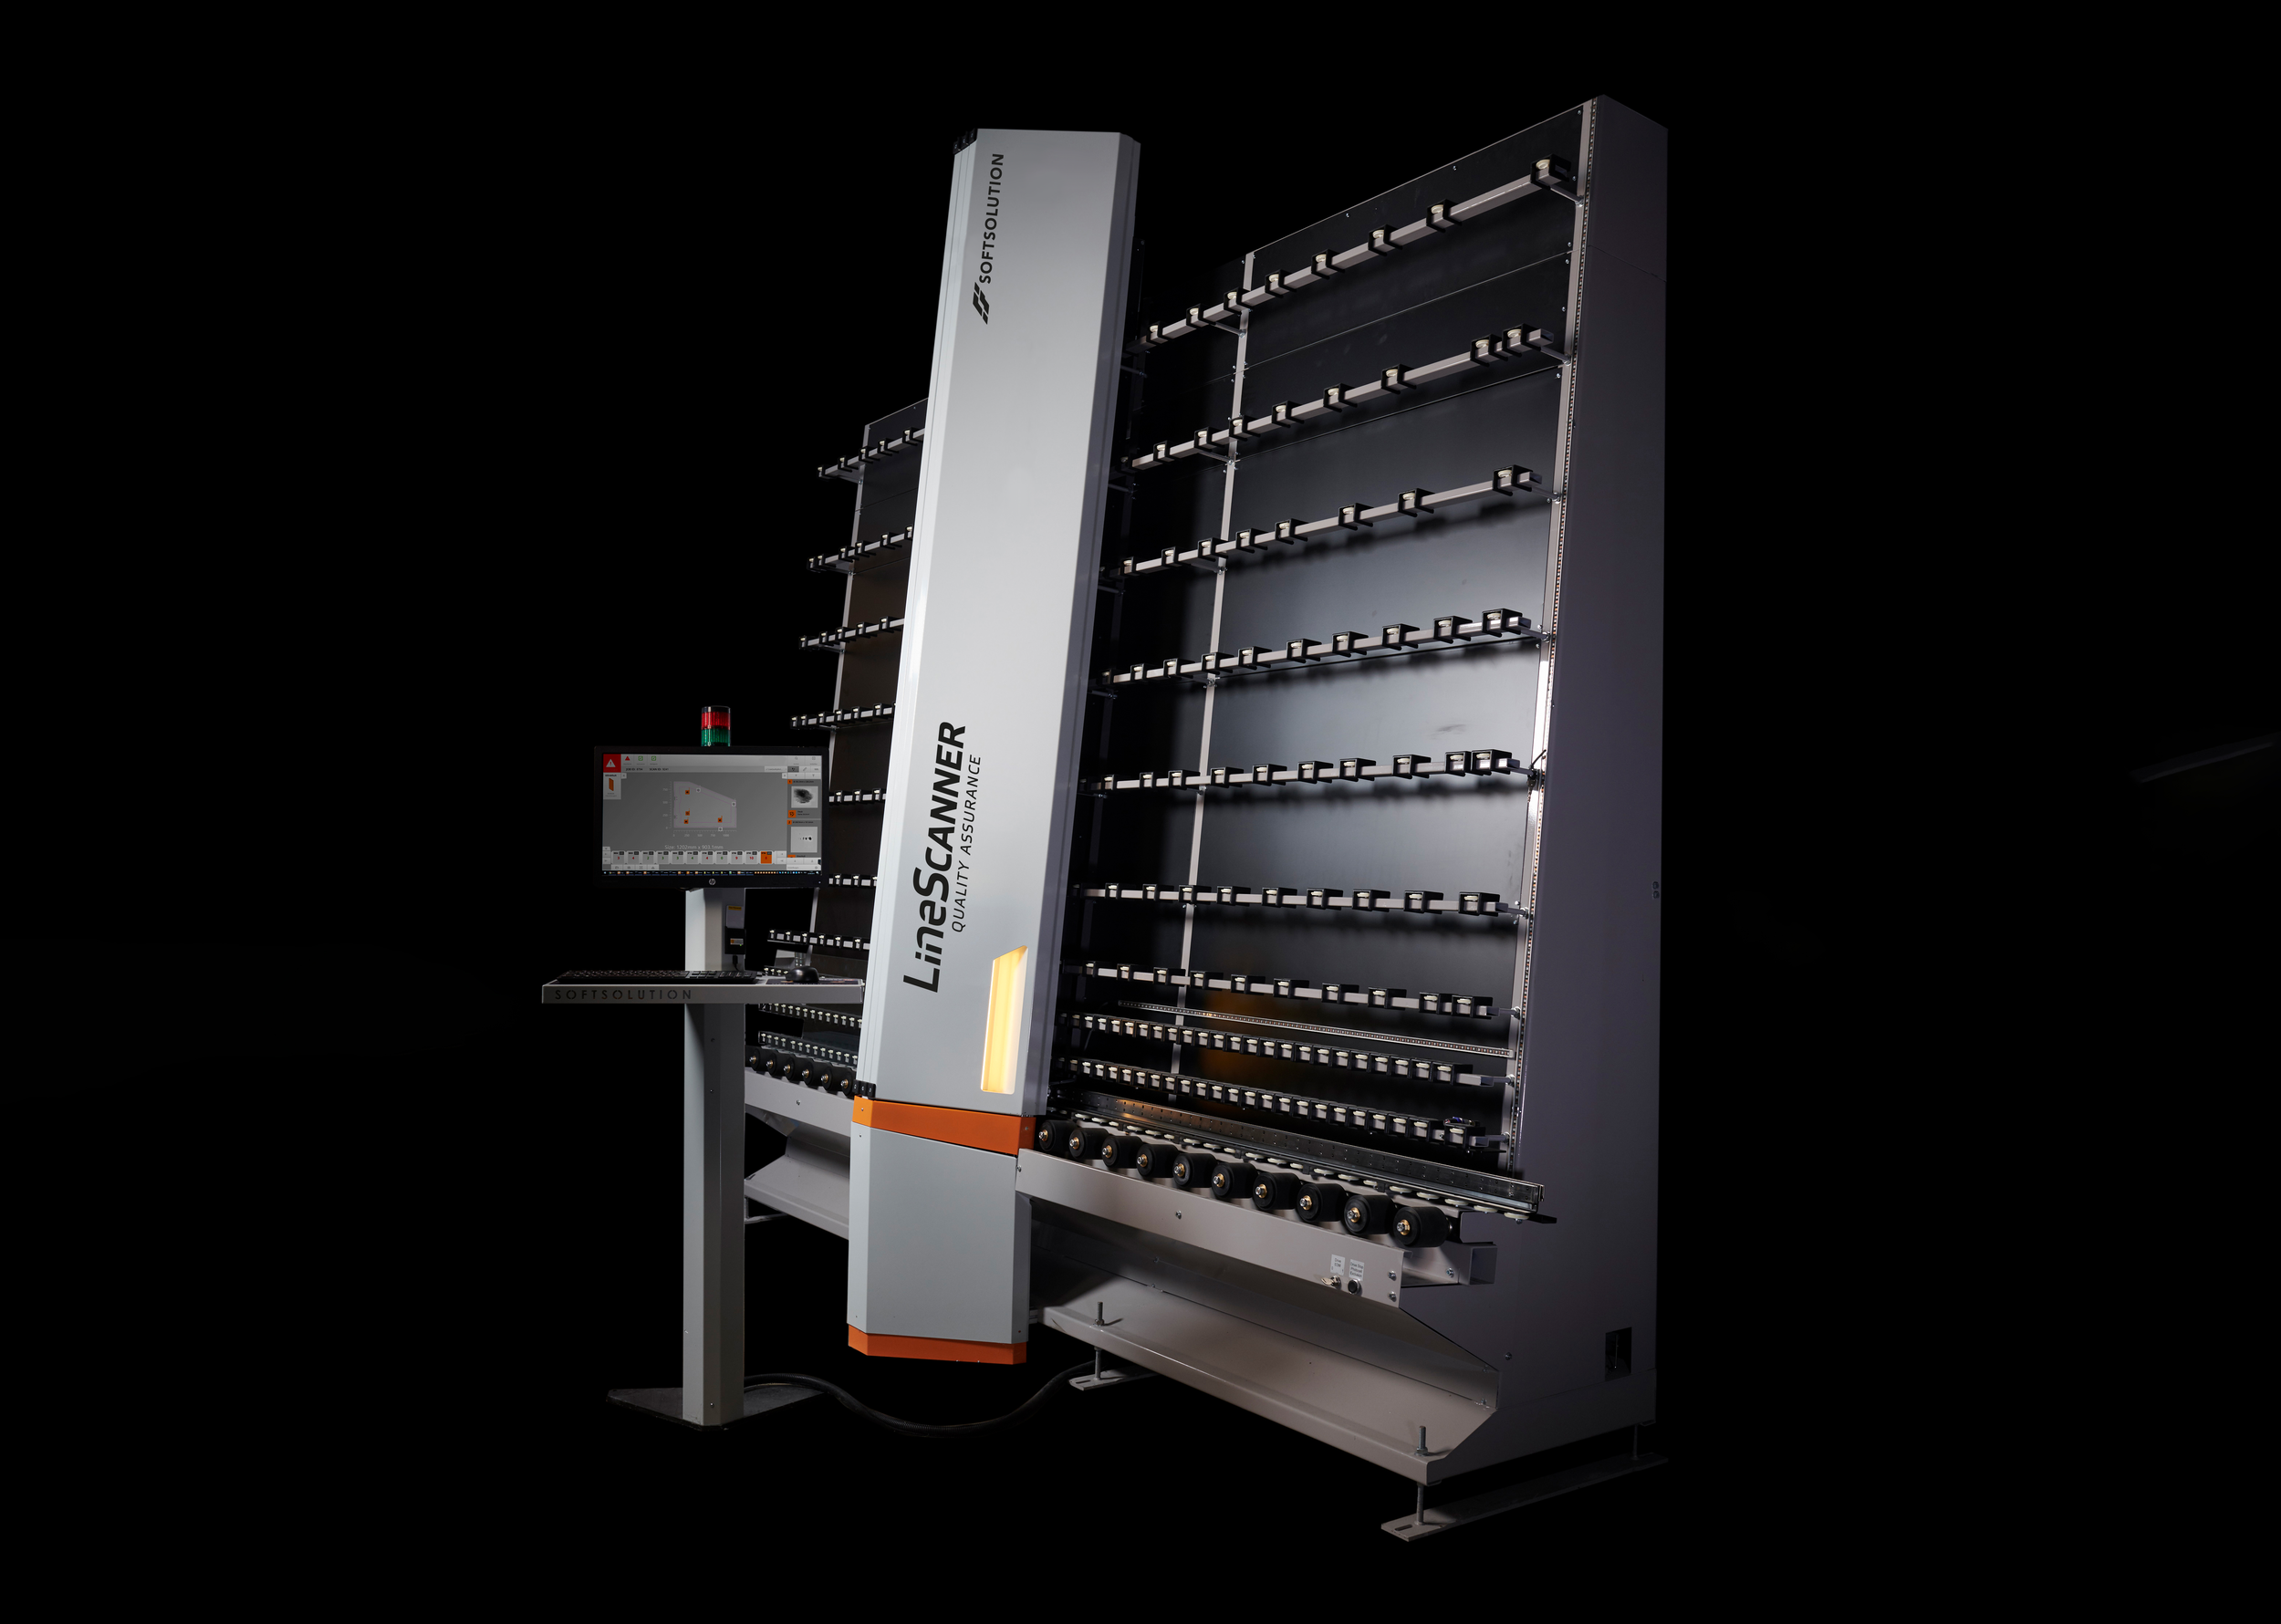
The LineScanner is THE solution for all quality inspections of transparent flat glass products such as single sheets, insulating glass, automotive glass, processed glass, polycarbonate or film. LineScanner inspects your products with extreme precision for all defects in quality and dimension. Its flexibility as well as its simple operation and installation allow it to be put into operation quickly and easily with minimum space requirements.
Developed in Waidhofen/Ybbs, Softsolution produces unique LineScanners at the highest technical level. Many years of expertise and experience in the glass industry and with over 750 installations worldwide, Softsolution guarantees for excellent glass defect inspection systems on the market. Our LineScanner helps to deliver consistent quality to your customers and thus reduce the complaint ratios.
Artificial intelligence improves traditional automated methods, including error categorization in the LineScanner software. Our system learns from errors and continuously improves the evaluation. False quality rejects are reduced.
In practice, operators on the line sometimes judge a software decision differently. The software adopts this change and takes it into account in future evaluations. The LineScanner learns from operator feedback and continuously adapts its categorization behavior.
Technological advantages
Resolutions of up to 200dpi and 16bit technology enabling a highly accurate scan image of the inspected object
An inspectation with 90° of all areas of the respective object leads to stable and repeatable results
The proven high-speed and high-resolution technology is based on scanning modules and an optimized parallel light illumination with LED.
Linescanner reflection
White haze has been a hot topic in the glass industry for decades. Correcting white haze related issues can be a bit like hunting a ghost – as there’s a huge amount of different items that can affect the creation of white haze in the tempering process. At the same time, detecting white haze has been based completely on subjective manual inspection.
A critical defect that is difficult to see with the human eye can now be easily made visible.
There is one method where this defect becomes so obvious and visible and that method is reflection. Softsolution developed a unique hardware configuration using reflection based scanning technology. Every image is interpreted by an AI-based algorithm. In cooperation with highly experienced people from tempering industry, the system and software were developed.
To achieve a stable solution of an industrial image processing application, an essential factor related to the hardware used is the illumination. As with our unique LineScanner, for which we have developed a parallel light technology, this topic plays a very important role.
In the first step, we tried to make the very fine scratches/surface changes of the white haze effect visible with high-resolution imaging sensors (400dpi) using extremely short-wave light. At this high resolution (equivalent to 250Mpixels per m² of inspected area), strong white haze effects were visible in reflected light mode. By using a modular design, we can construct hardware of almost any width/height. Thereby a constant resolution is given over the entire acquired scan area.
culletscanner
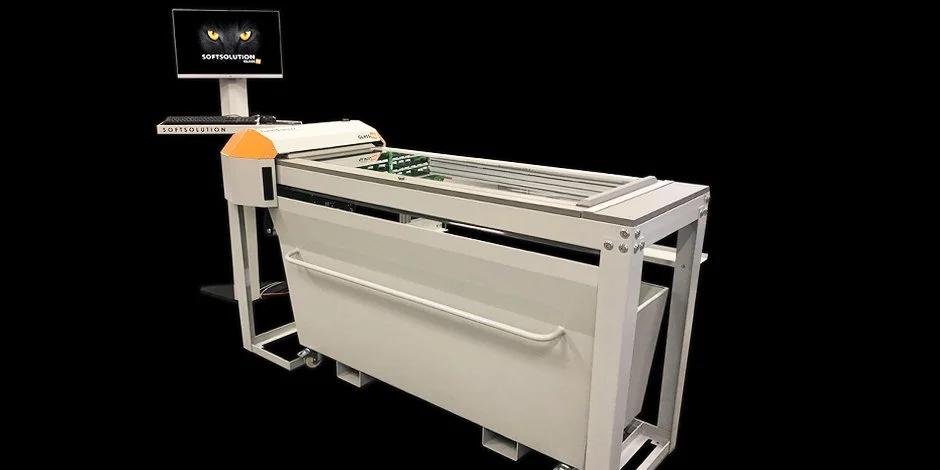
The CulletScanner from SOFTSOLUTION with new tilt function scans with the highest resolution every tempered glass , such as architectural-, automotive-, window glasses and shower doors and eg. Each fragment is viewed from a 90 ° angle and the entire fragmentation image of a test lite is precisely and completely evaluated within seconds.
The position, size, length, area and weight are determined and each scan of a fragmentation image is digitally stored with the highest precision and sharpness. Exclusion areas along the outer contour and the point of impact are of course also taken into account. A certificate printout in PDF format is then generated automatically.
The CulletScanner analyzes the entire glass lite and checks areas with the most, fewest, largest and longest fragments fully automatically. These positions are highlighted and analyzed once more.
The associated CulletScanner software provides all established, familiar standards in this field (EN 12150, EN 14179, EN 14428, EN 31129.NFF, R 43, ANSI Z97.1-2004, CAN/CGSB-12.1M). The CulletScanner counts consistently, stably and comprehensibly!
virtualdigitizing
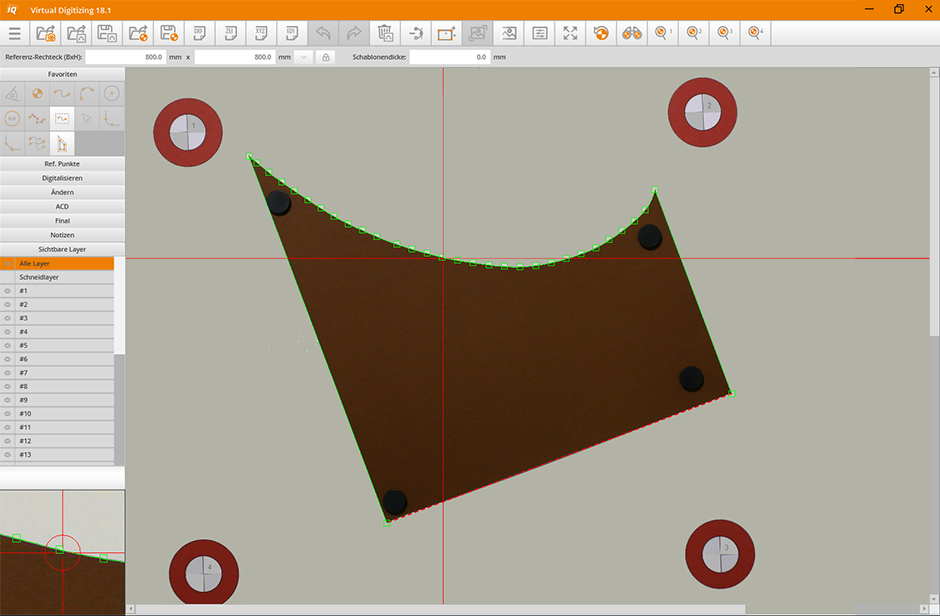
If you are tired making objects and templates laboriously with a digitizing table? Then we have the ideal solution for you!
With VirtualDigitizing you can save up to 50% of your valuable time and thus saves costs for your company. Increase business productivity - once you have acquired VirtualDigitizing it is completely maintenance-free. Easy handling in the digitizing process of glass, templates and patterns enables highly accurate object detection.
VirtualDigitizing – a software application for flexible digitization solutions for templates that can be used easily and quickly in any industry. This results in an unprecedented reduction in workload and increased flexibility.
VirtualDigitizing – will change the way you work.
LOAD VALIDATOR™
The Load Validator™ provides an accurate, repeatable, consistent measurement of glass size, load size, and critical fault conditions likely to cause glass breakage and line interruptions.
Load Validator technology is available as a stand-alone system or included with the Owl 5, installed on the production line prior to critical continuous processes, such as high vacuum coating systems or washer stations preceding tempering. Real-time, 100% inspection collects, analyzes, and reports out data on every glass sheet. Detection of non-conforming loads or defective glass triggers alarms that stop the conveyor system, preventing the defective material from furthering processing.
OWL 5
The Owl 5 transmits data to the furnace control system allowing the furnace to automatically select a recipe and optimize the heat profile, improving cycle time, minimizing distortion, and optimize flatness
Load Validator technology is included in Owl 5 OR as a stand-alone system.
With the Owl 5 Furance Optimization System, you will have your best furnace operator on every shift. The Owl® 5 is a patented, non-contact optical system measuring the glass thickness, type of low-E coating (1, 2, 3 silver layers, 4th surface low-E), color, glass dimensions and sheet locations as the load approaches the furnace
The system is for loads entering a batch or continuous tempering furnace.
Sequence of operation
Conveyor begins transfer of glass. The encoder signal activates the measurement system.
The glass enters the measurement system
Images are captured sequentially over the full load length and width
Thickness and low E coating information collected
The trailing edge of the load clears the system
Algorithms process data and transfer information to the furnace control system
Furnace control systems adjust according to load information, and stores result in the case of a fault condition.
Load transfers into the furnace
Bowscanner
The Softsolution BowScanner delivers valuable data, including total deflection for all edges and both diagonals. It displays the glass pane’s surface profile, aiding effective analysis. It optimizes workflows, reduces breakage risk, prevents that bowed glasses are further used for insulated glass units or laminats; therefore cuts downtime and costs for glass processing companies.
Enhance productivity with the BowScanner, ensuring high-quality products and a competitive edge.
Designed specifically for glass processors and fabricators working with tempered glass, the BowScanner offers a solution to minimize risks and optimize production efficiency.
By measuring the overall bow of glass before it will be transported to storage systems or used for an insulated glass unit or laminated glass it prevents downtime and guarantees a reliable product quality. At the same time it helps the furnace operator to optimize his work.
Equipped with cutting-edge features, the BowScanner delivers exceptional performance and accuracy. Its vertical installation allows for easy integration into existing glass processing workflows.
The BowScanner provides precise measurements at an impressive rate of 60 measurements per second.
LiteSentry
Scanners
Litesentry
Since 1999, LiteSentry has been developing technologies to solve the hard problems of inspection and measurement for glass fabricators. Our tools provide automated, accurate, 100% on-line inspection of flat glass and plastic sheets for manufacturers around the world. At the heart of our business is a passion for new technology that solves our customers’ most difficult challenges.
Osprey 10 Distortion
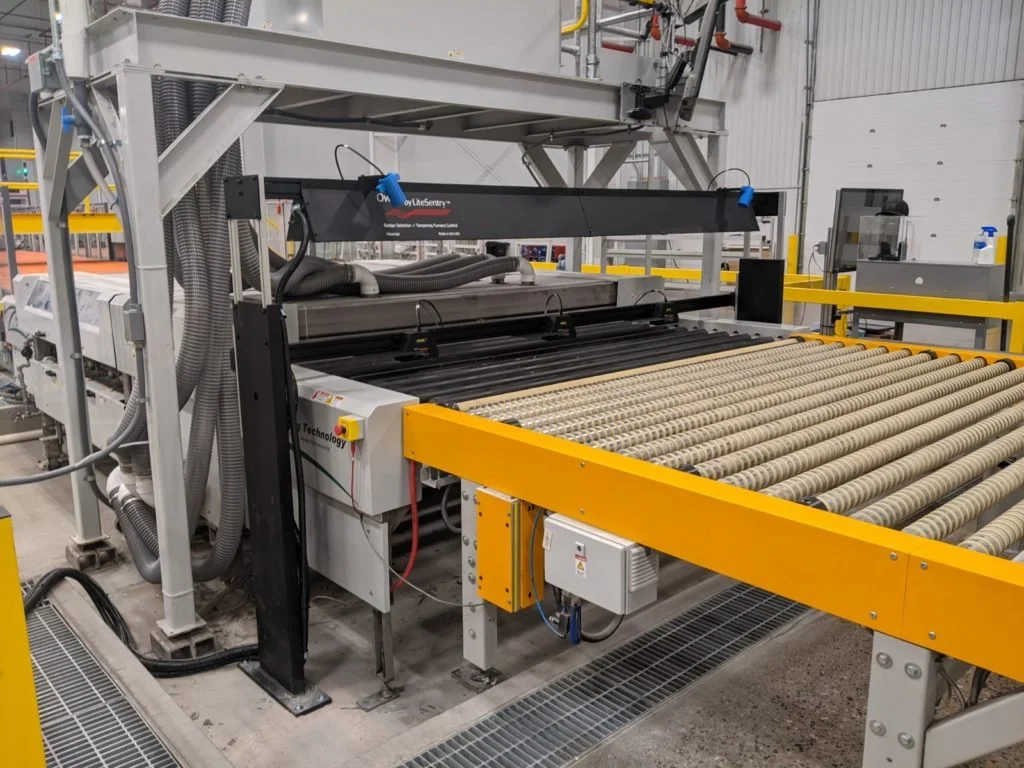
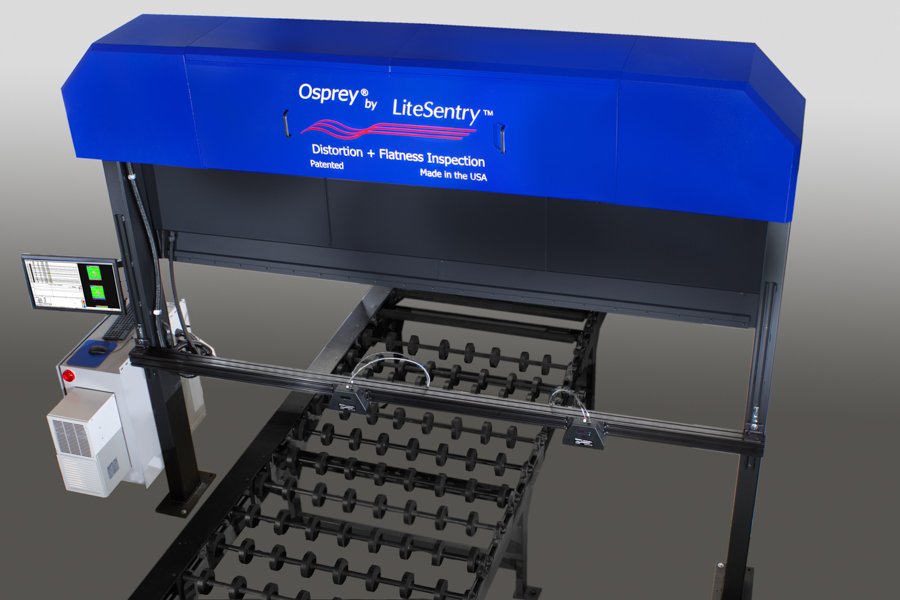
The Osprey® is a sophisticated, on-line visual inspection system that measures optical distortion of all types, including roll wave, edge kink, picture framing, corner lift, belly banding, vertical kink, bi-stability, saddle bow, bird’s eye, pocket, hammer and any other distortion in heat-treated and laminated glass, solar PV and sheet plastic. The Osprey® 10 Distortion by LiteSentry™ exceeds all industry requirements, providing optimal process control.
Advantages
» Key Application: Tempering Furnaces
» Measures All types of Distortion, Flatness, Size, Thickness, Coating
» 100% of each glass sheet (lite) is measured; data is collected and stored.
» Meets or exceeds Vitro CF, Guardian SF, U.S. government, and leading architectural fabrication specifications
» Built-in barcode scanner to track each part in the quality database
» Certified to ASTM, ISO, EN requirements for optics
» Compatible with any brand of Tempering Furnace
Osprey 10 Complete
The Osprey® 10 Complete is the only system on the market that measures both optical distortion and anisotropy, while meeting and exceeding requirements of leading architects and glass suppliers. Developed in partnership with Stress Photonics, the global supplier in optical stress analysis, our revolutionary detection measures anisotropy, flatness, and over 15 types of optical distortion.
Advantages
» Key Application: Tempering Furnaces
» Measures Anisotropy, skunk stripe, belly banding
» Measures All types of Distortion, Flatness, Size, Thickness, Coating
» Recognizes bowed or bi-stable pieces of glass in real-time
» 100% of each glass sheet (lite) is measured; data is collected and stored.
» Meets or exceeds Vitro CF, Guardian SF, U.S. government, and leading architectural fabrication specifications
» Built-in barcode scanner to track each part in the quality database
» Certified to ASTM, ISO, EN requirements for optics
» Compatible with any brand of Tempering Furnace
Osprey 10 Transmissive Distortion
The Osprey® 10 Transmissive Distortion provides real time, on-line inspection of transmitted distortion (refractive power) of flat glass and plastic sheets. Transmitted distortion is measured over 100% of the product in diopters. The results are displayed in real time via refractive power map.
ADvantages
» Key Application: Laminating Lines, Extruded Sheet Plastic
» Measures transmitted distortion (refractive power) of flat glass and plastic sheets
» Transmitted distortion is measured over 100% of the product in diopters.
» Direct measurement of Refractive Power and Angular Deviation as defined in DIN 52305 §9.2 and §9.1
» Real-time data on distortion and flatness immediately after extrusion, autoclave, or on a continuous web application
» Built-in barcode scanner to track each part in the quality database
» Certified to ASTM, ISO, EN requirements for optics


